What Radiant Barrier Does for Southern California Attics
A radiant barrier is a reflective foil material installed in the attic that blocks radiant heat transfer from the hot roof deck into the attic space below, reducing attic air temperatures and the heat load that traditional insulation on the attic floor has to resist. In Southern California’s climate, where clear summer days deliver intense solar radiation to roof surfaces for eight or more hours and roof deck temperatures regularly reach 150 to 160 degrees Fahrenheit by midafternoon, radiant heat from the roof deck is the primary driver of attic air temperatures that exceed 130 degrees on summer afternoons. Traditional mass insulation on the attic floor resists conductive heat transfer between the hot attic air and the ceiling below it, but it does not reduce the attic air temperature itself. A radiant barrier installed on the underside of the roof rafters or over the attic floor insulation reflects 95 to 97 percent of the radiant heat emitted by the hot roof deck before it enters the attic air space, reducing attic temperatures by 20 to 30 degrees and lowering the temperature differential the attic floor insulation is working against throughout the hottest part of the day.
Radiant Barrier Installation Methods We Use
Staple-Up Installation on Roof Rafters
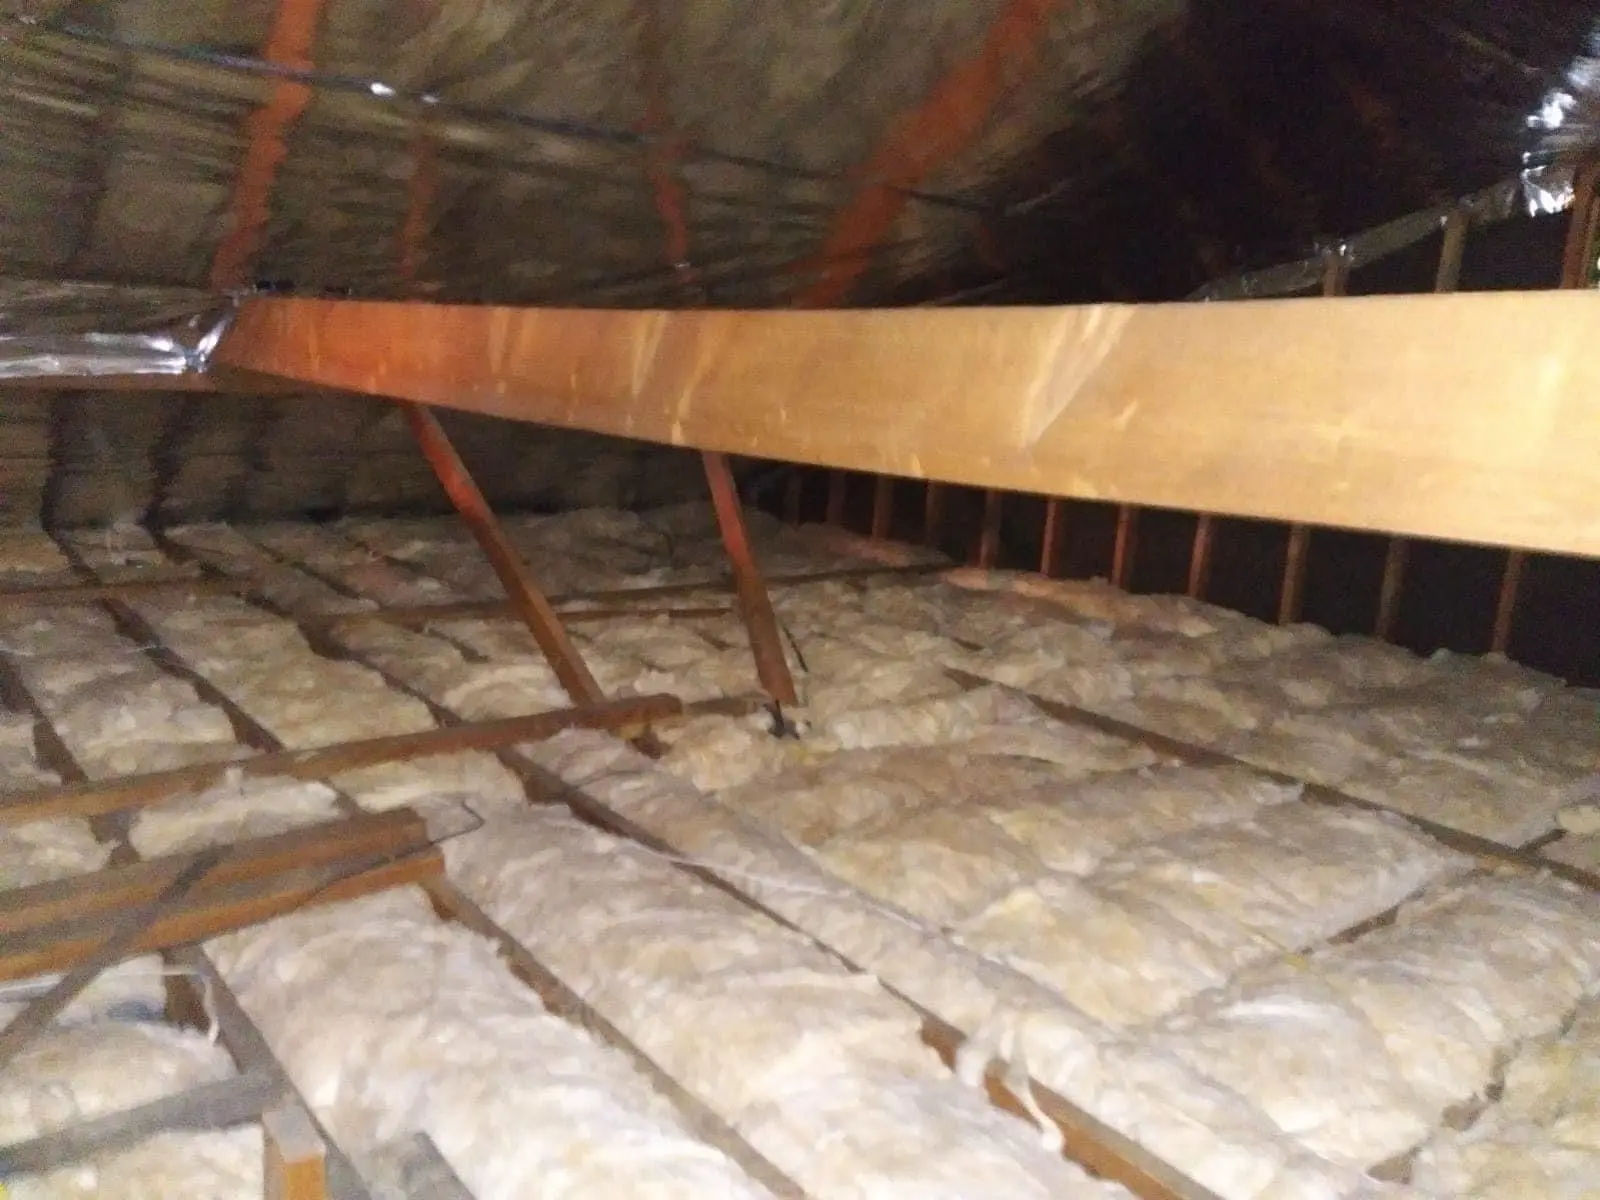
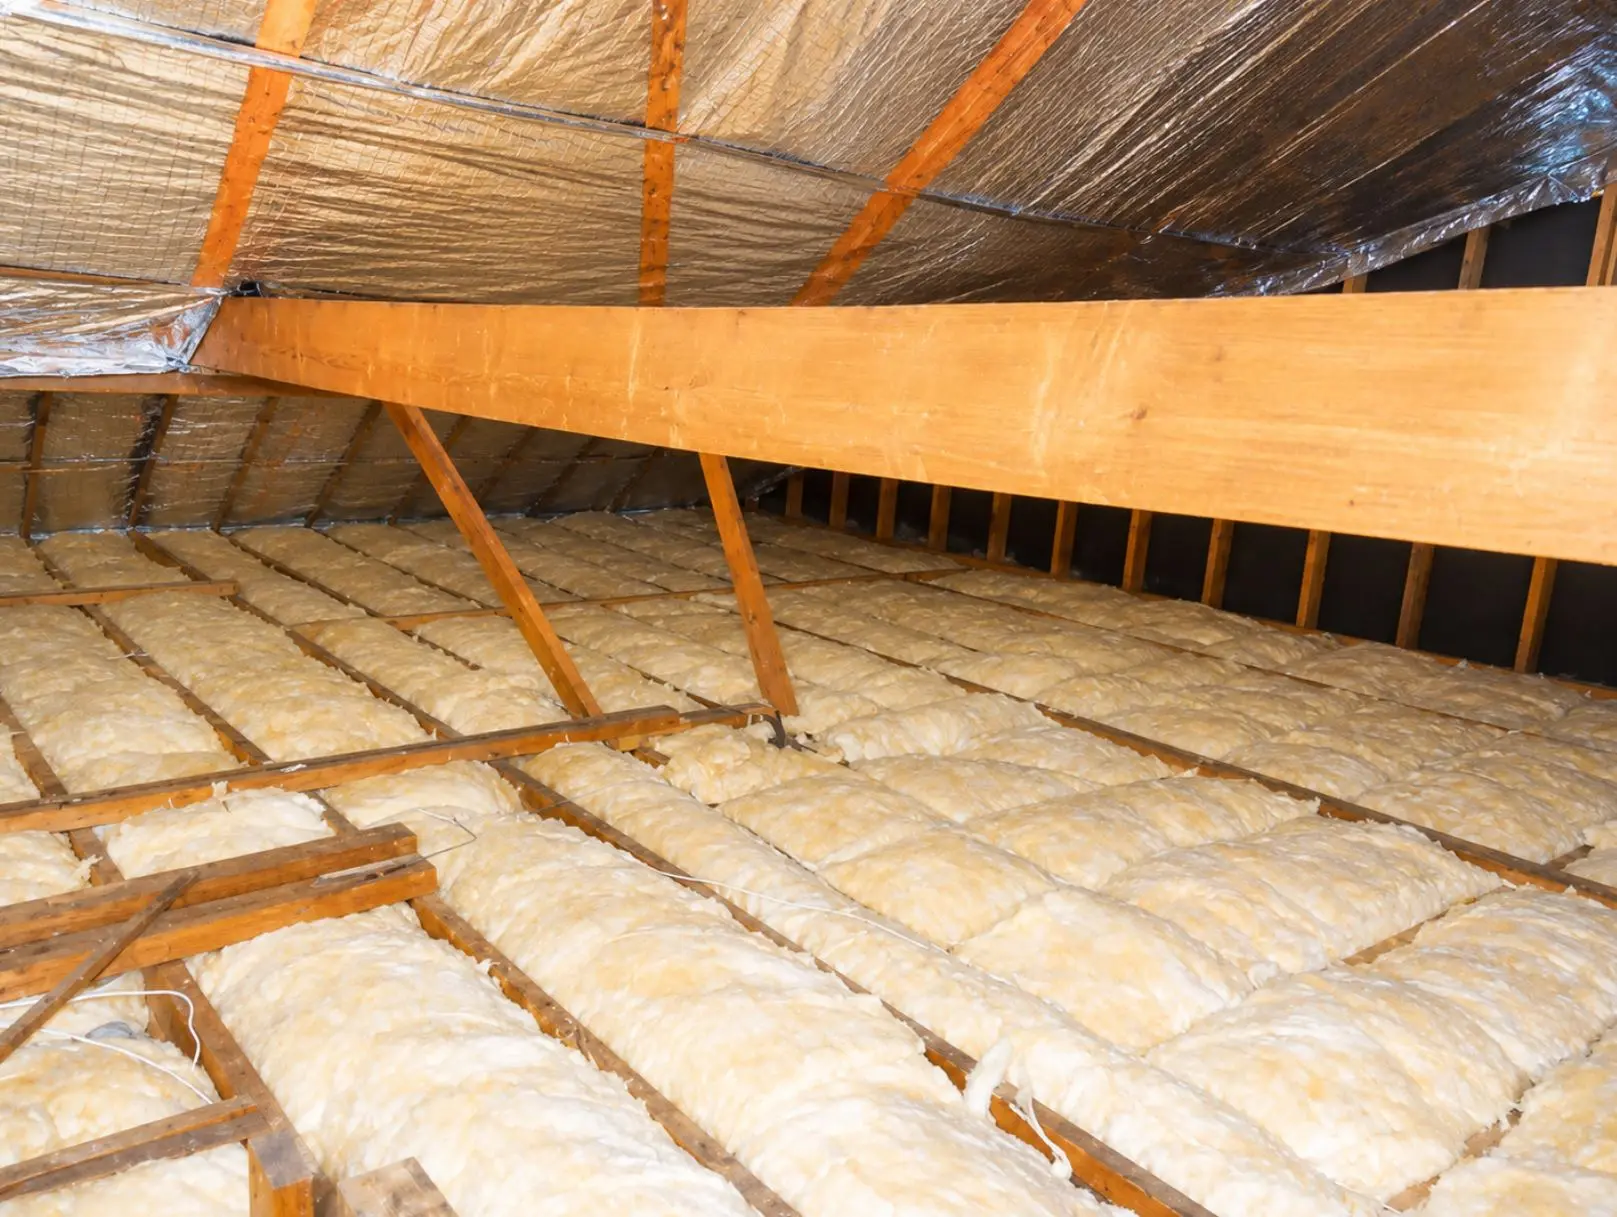
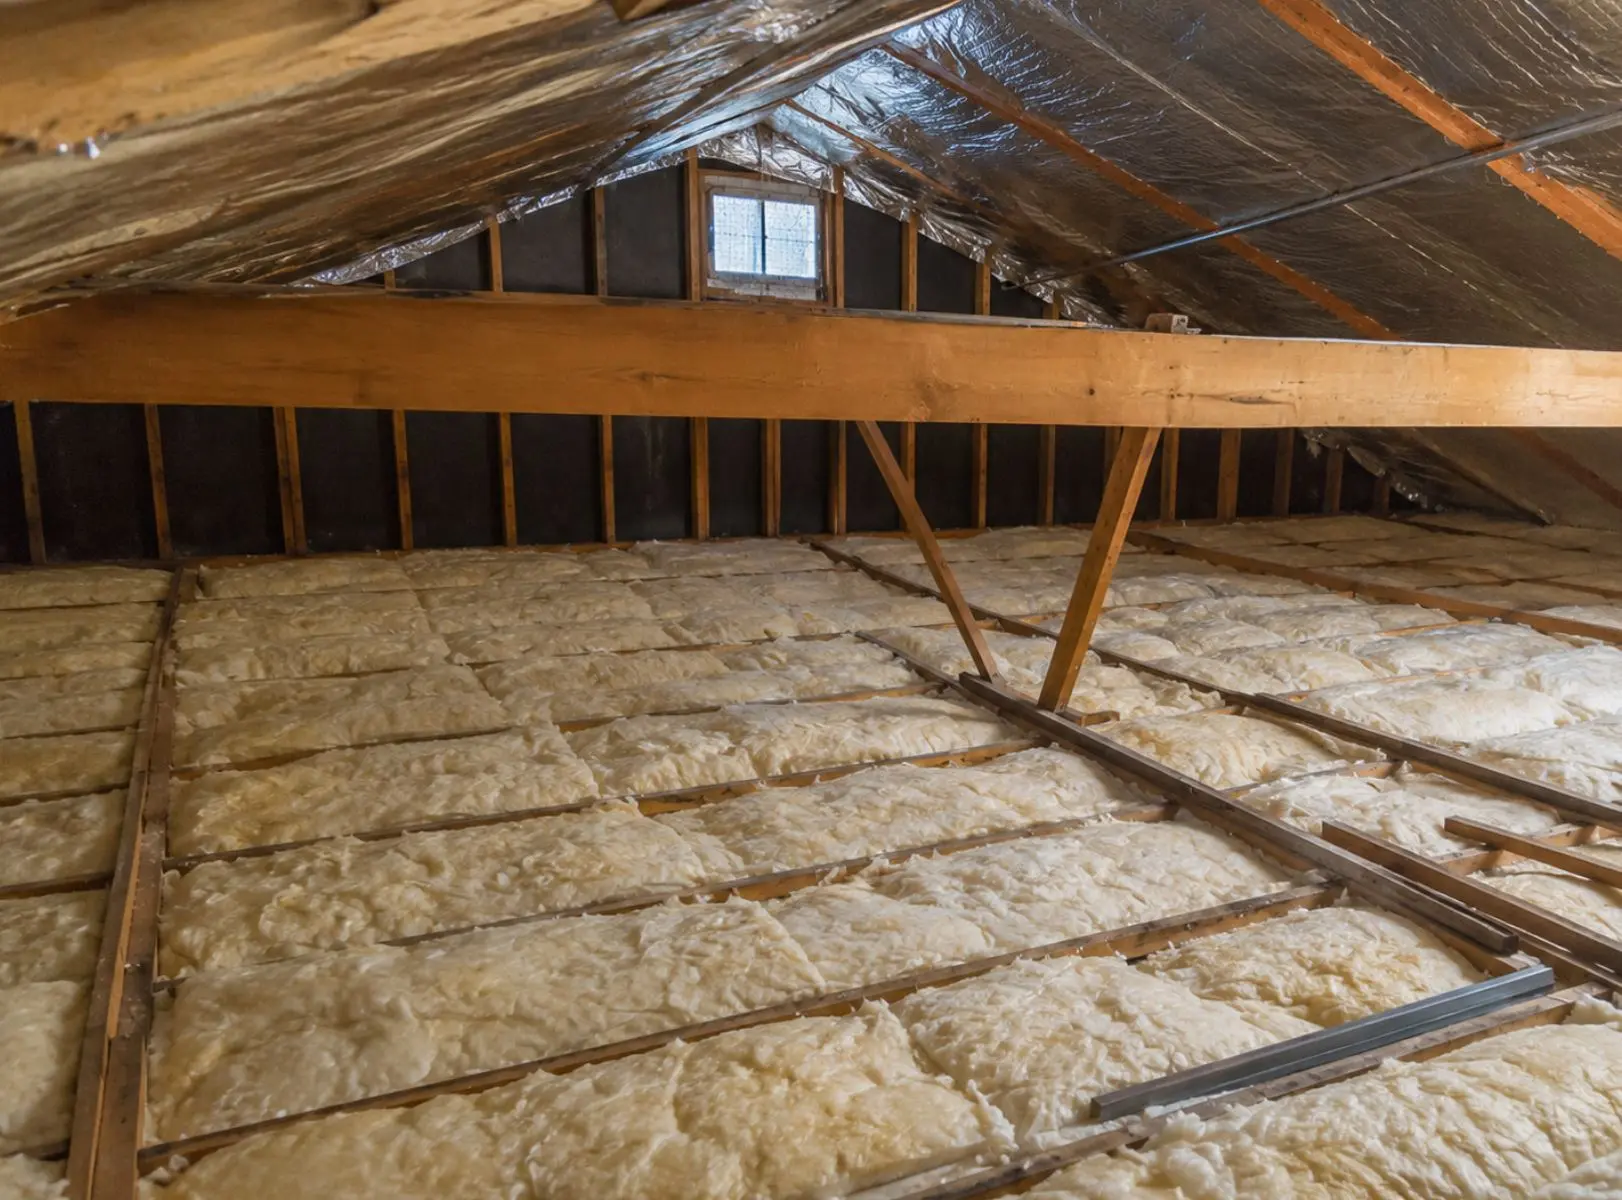
Staple-up radiant barrier installation involves unrolling and stapling perforated reflective foil to the underside of the roof rafters, covering the full rafter bay area from eave to ridge. Perforated foil is required for this installation to allow moisture vapor to pass through the foil rather than accumulating against the roof deck, which prevents condensation problems in the roof assembly. The foil hangs slightly loose between the rafters to maintain the required air gap between the foil surface and the roof deck above it. That air gap is essential because radiant barrier only functions by reflecting heat across an air space, and direct contact with another surface eliminates its effectiveness. Staple-up installation is the most effective radiant barrier approach because it reflects heat before it enters the attic air, keeping attic temperatures lower through the entire day rather than only reducing the heat that reaches the insulation layer at the attic floor.
Lay-Over Installation on Attic Floor Insulation
Lay-over radiant barrier installation places reflective foil on top of the existing attic floor insulation, with the foil facing upward into the attic air space to reflect radiant heat coming down from above. This approach requires that there be adequate clearance between the foil surface and the roof deck above to maintain the air gap necessary for reflection, which limits it to attics where the insulation depth and attic height together leave sufficient clearance. Lay-over installation is faster and less expensive than staple-up but produces more moderate attic temperature reduction because the foil is positioned at the bottom of the attic air space rather than at the top where radiant heat originates. It is the appropriate approach for attics where rafter access is difficult or where the roof pitch limits safe crew movement in the rafter space.
Radiant Barrier Sheathing for Roof Replacement Projects
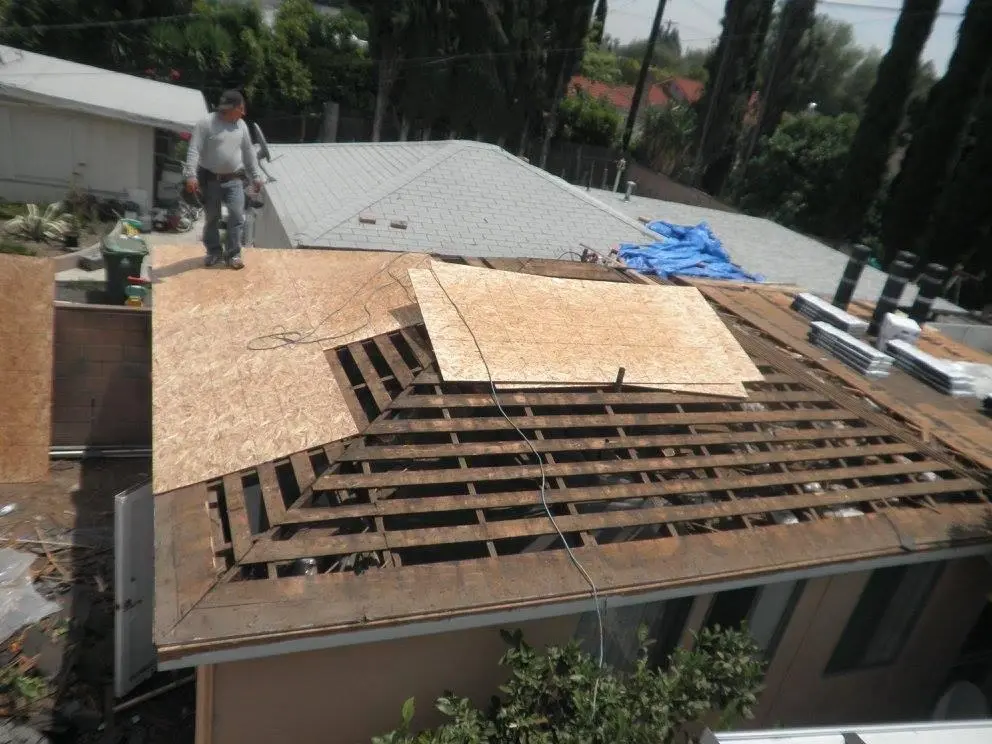
Radiant barrier sheathing is a roof deck product with reflective foil laminated to its underside, installed in place of standard OSB sheathing during a full roof tear-off and replacement. It produces the same heat-blocking effect as staple-up foil without requiring a separate attic installation, and it is the most cost-effective approach for homeowners who are already replacing their roof because the incremental cost of the sheathing upgrade is far lower than a standalone radiant barrier installation. For homeowners planning a roof replacement, we discuss radiant barrier sheathing as part of the roofing project scope rather than as a separate attic installation. For homeowners whose roof is not being replaced, staple-up or lay-over foil in the existing attic is the appropriate path.
Combination Radiant Barrier and Attic Insulation
Radiant barrier and attic floor insulation address different parts of the heat transfer path from the roof surface to the living space, and they are most effective when installed together. We scope and price radiant barrier and attic insulation as a combined project when the attic inspection confirms that both are needed, which is the most common situation in Southern California’s older housing stock. The combined project produces a meaningfully greater reduction in ceiling heat gain than either improvement alone, and the single mobilization reduces the total installation cost compared to scheduling each separately.
How Radiant Barrier and Attic Insulation Work Together
| Heat Transfer Mechanism | What It Does | What Addresses It |
|---|---|---|
| Radiation from roof deck | Hot roof deck radiates heat downward across attic air space to insulation and ceiling below | Radiant barrier reflects radiant heat back toward roof deck |
| Conduction through attic air | Hot attic air conducts heat through insulation layer to ceiling surface | Attic floor insulation at R-38 slows conductive transfer |
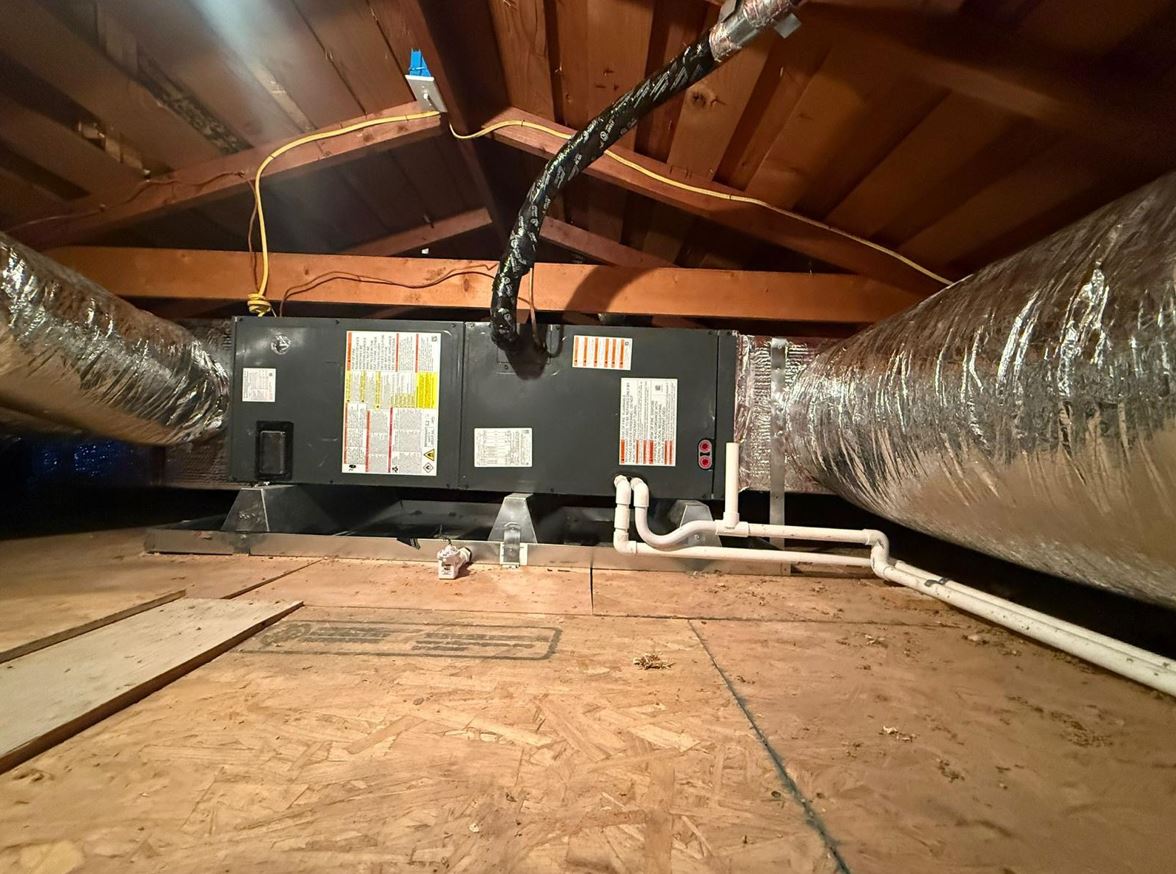
| Duct heat gain in attic | HVAC ducts running through 130-degree attic air lose cooling capacity before air reaches living space | Radiant barrier reduces attic air temperature, reducing duct heat gain |
| Radiant heat from ceiling surface into living space | Hot ceiling surface radiates heat downward into room regardless of AC operation | Combined radiant barrier and insulation reduces ceiling surface temperature |
Research from the Oak Ridge National Laboratory found that radiant barriers reduce cooling energy use by 5 to 10 percent in hot, sunny climates, with the greatest benefit in homes with ductwork in the attic, where lower attic temperatures directly reduce duct heat gain before conditioned air reaches the living space. For Southern California homes where the attic has been upgraded to R-38 but duct performance remains limited by attic heat, a radiant barrier installation addresses the remaining factor that attic insulation alone cannot solve. Homeowners looking to address the full attic assembly can also ask about pairing radiant barrier with our air sealing services to close the penetrations that allow hot attic air to move directly into the living space regardless of insulation and radiant barrier performance.
What Radiant Barrier Installation Costs in Southern California
Cost is driven by attic square footage, installation method, roof pitch, access conditions, and whether attic insulation is being upgraded in the same project. Financing is available for qualified homeowners including $0 down options.
Call (818) 483-8055 to schedule your free attic inspection and radiant barrier estimate.
Our Radiant Barrier Installation Process
Step 1: Free Attic Inspection and Estimate
A licensed Wise Choice estimator visits your home, accesses the attic, inspects the existing insulation depth and condition, assesses the rafter configuration and attic clearance for the appropriate installation method, and reviews the attic ventilation to confirm it is adequate for the installation approach being proposed. For homes with HVAC ducts in the attic, we note their location and routing because reduced attic temperature from the radiant barrier will produce a direct performance benefit for those ducts. The visit takes 30 to 60 minutes. You receive a written itemized estimate before the end of the next business day with no obligation to proceed.
Step 2: Permit Determination
We confirm the permit requirement for your specific project. For most existing-home radiant barrier installations, a permit is not required. For installations performed as part of a permitted roofing or remodel project, we coordinate with that project’s permit scope. We confirm the determination before work is scheduled.
Step 3: Foil Installation
For staple-up installations, the crew accesses the rafter bays throughout the attic, unrolls perforated foil across each bay, and staples it to the underside of the rafters with sufficient slack to allow the foil to hang slightly loose and maintain the air gap between the foil and the roof deck above. Overlapping seams between foil runs are stapled to maintain continuity. Penetrations through the foil for electrical fixtures, vents, or other protrusions are cut and the foil is tucked and secured at each opening. The installation covers the full rafter bay area from eave to ridge without leaving uninsulated gaps between runs. For lay-over installations, foil is unrolled across the surface of the existing attic floor insulation with the reflective face up, lapped at seams, and secured at edges to prevent movement.
Step 4: Cleanup and Closeout
All packaging, cut material, and equipment are removed from the attic and property before the crew leaves. The attic access area is cleaned. At project closeout you receive the 2-year workmanship warranty in writing, the radiant barrier product documentation including the tested emissivity and reflectance values.
If you are ready to find out what radiant barrier would cost for your attic and whether an attic insulation upgrade makes sense alongside it, request a free estimate online or call (818) 483-8055 to schedule your attic inspection.
Permits and California Requirements for Radiant Barrier
Radiant barrier foil installation in an existing residential attic is generally permit-exempt in most California jurisdictions for standard staple-up or lay-over installations. Radiant barrier sheathing installed as part of a permitted roof replacement is covered by the roofing permit. We confirm the applicable requirement for your project during the estimate visit.
California’s Title 24 energy code recognizes radiant barrier as a qualifying measure for reducing attic heat gain in residential buildings. Radiant barrier products must meet a minimum emissivity rating to qualify as a radiant barrier under Title 24. The products we install meet the California Energy Commission’s requirements for qualifying radiant barrier materials, and we provide the product documentation confirming that rating at project closeout.
Why Southern California Homeowners Choose Wise Choice for Radiant Barrier
15+ Years of Combined Experience Installing Radiant Barrier
We have installed radiant barrier in Southern California attics across every roof pitch, framing configuration, and attic access condition the region’s housing stock presents. The difference between a properly installed radiant barrier with consistent coverage and correct air gaps and a product installed without attention to those details is the difference between a meaningful attic temperature reduction and a foil product that does not perform as advertised.
Licensed and Insured General Contractor
Every radiant barrier installation we perform is completed under our general contractor license by crew members fully covered by our insurance. You carry no liability exposure for work our team performs in your attic.
Honest Performance Expectations on Every Job
Radiant barrier is a well-documented and effective improvement for Southern California homes. It is not a replacement for attic insulation, and we do not present it as one. We give you an accurate picture of what the radiant barrier will and will not do for your specific attic, including whether an insulation upgrade alongside it would produce a meaningfully better combined result, before you make any decisions.
Perforated Foil Only for Rafter Installation
We install only perforated foil for staple-up rafter installations. Solid foil stapled to rafters traps moisture against the roof deck and can contribute to premature deterioration of the roof sheathing. Every product we install for rafter-bay applications is perforated to allow moisture vapor to pass through, which is the correct specification for Southern California’s climate conditions.
2-Year Workmanship Warranty
Our 2-year workmanship warranty covers the installation, stapling, and overlap work our crew performs. If any workmanship-related issue develops within two years under normal conditions, we return and correct it at no charge. The warranty is in writing and delivered at project closeout alongside the product documentation.
Financing Available
Financing is available for qualified homeowners including $0 down options. Ask about current programs when you schedule your estimate.
Wise Choice Remodeling brings 15+ years of combined experience to installing radiant barrier in Southern California attics. If your home runs hot in summer despite adequate attic insulation, or if you want to address both radiant and conductive heat transfer from the attic in a single project, call (818) 483-8055 to schedule your free attic inspection and get a written estimate with no obligation.