What Interior Painting and Finishing Involves for Southern California Homes
Interior painting and finishing is the preparation and coating of interior walls, ceilings, and trim surfaces with paint products appropriate for the specific surface, room function, and desired appearance. It is the final trade on every remodel project and the one that the homeowner sees and evaluates every day. The quality of an interior paint job is determined almost entirely by the preparation that precedes the first coat of paint: the thoroughness of the surface cleaning, the completeness of the drywall repair, the texture matching on repaired areas, the consistency of the primer coat, and the masking of all adjacent surfaces. Paint applied over unprepared surfaces reveals every crack, nail pop, texture inconsistency, and stain that was present before the project began, and it does so more clearly than the unpainted wall did because paint’s sheen and uniformity draw the eye to surface variations rather than concealing them. In Southern California’s housing stock, where a significant share of homes have walls and ceilings that have accumulated nail pops from foundation movement, hairline cracks from seismic cycling, water stain rings from prior plumbing or roof leaks, and decades of surface contamination from cooking, dust, and everyday use, the preparation work required for a result that looks genuinely good is more than a simple wash-and-paint approach produces. We assess the condition of every surface being painted during the estimate visit and include the preparation scope required to produce a result that holds up, rather than the minimum that gets paint on the wall.
Interior Painting and Finishing Scopes We Perform
Whole-Home Interior Repaint
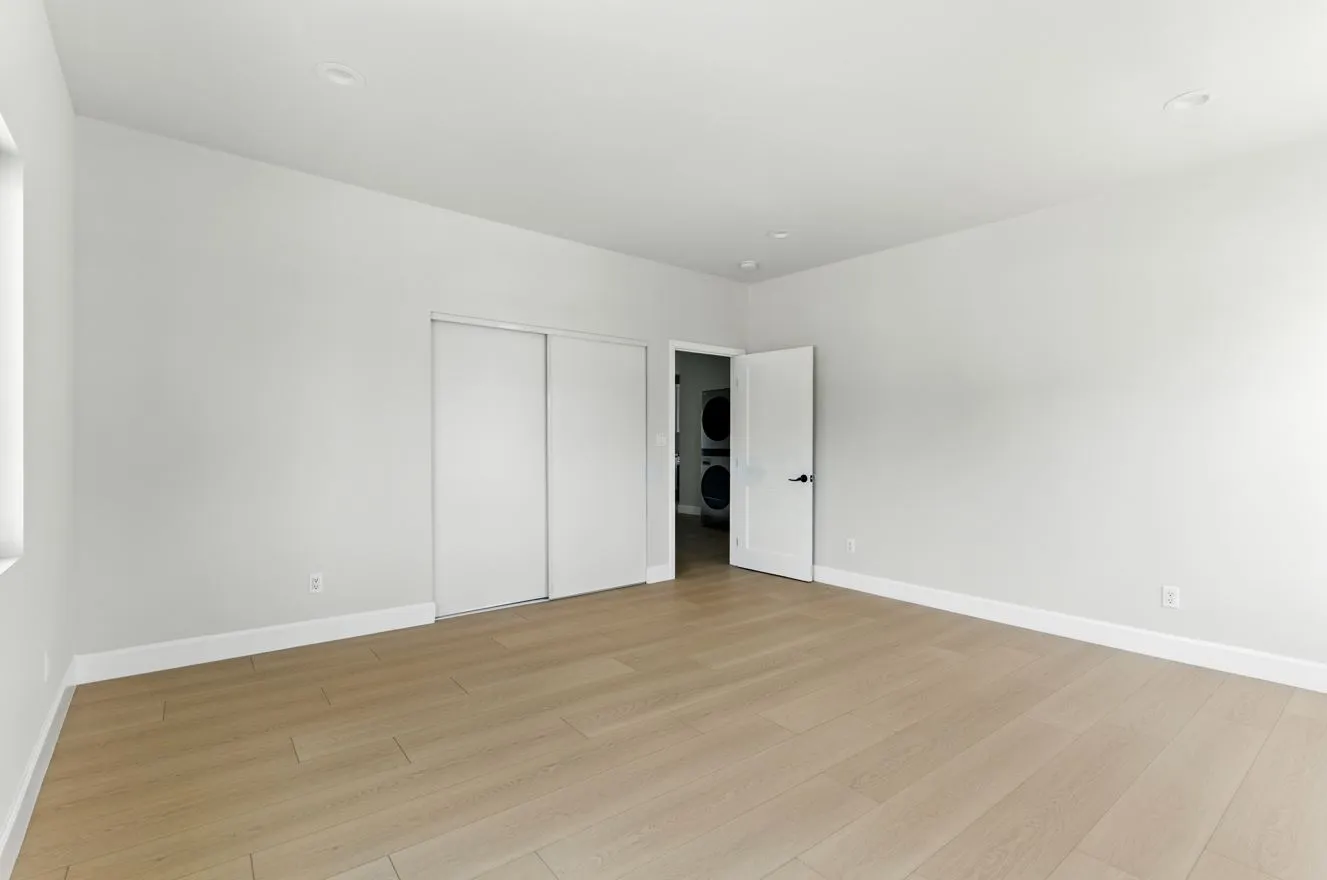
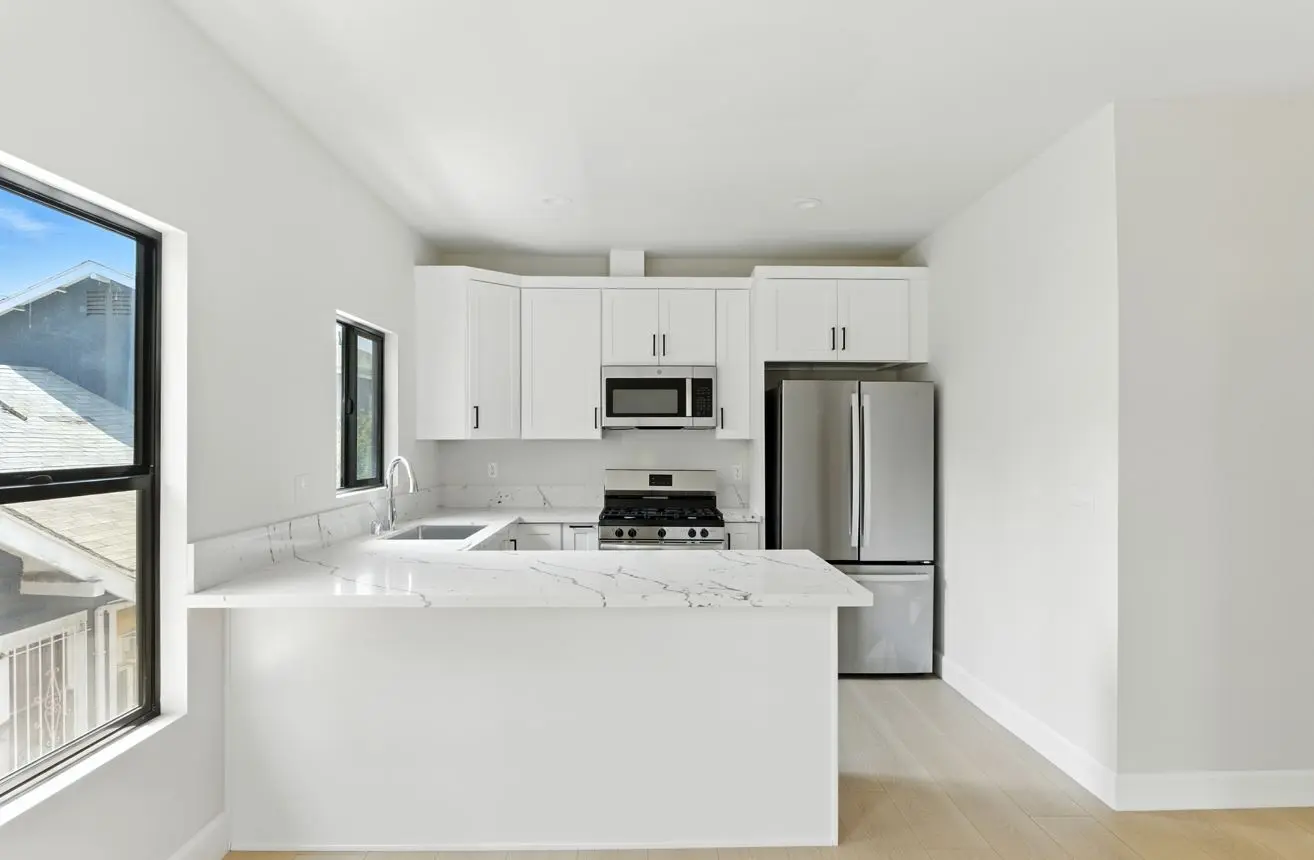
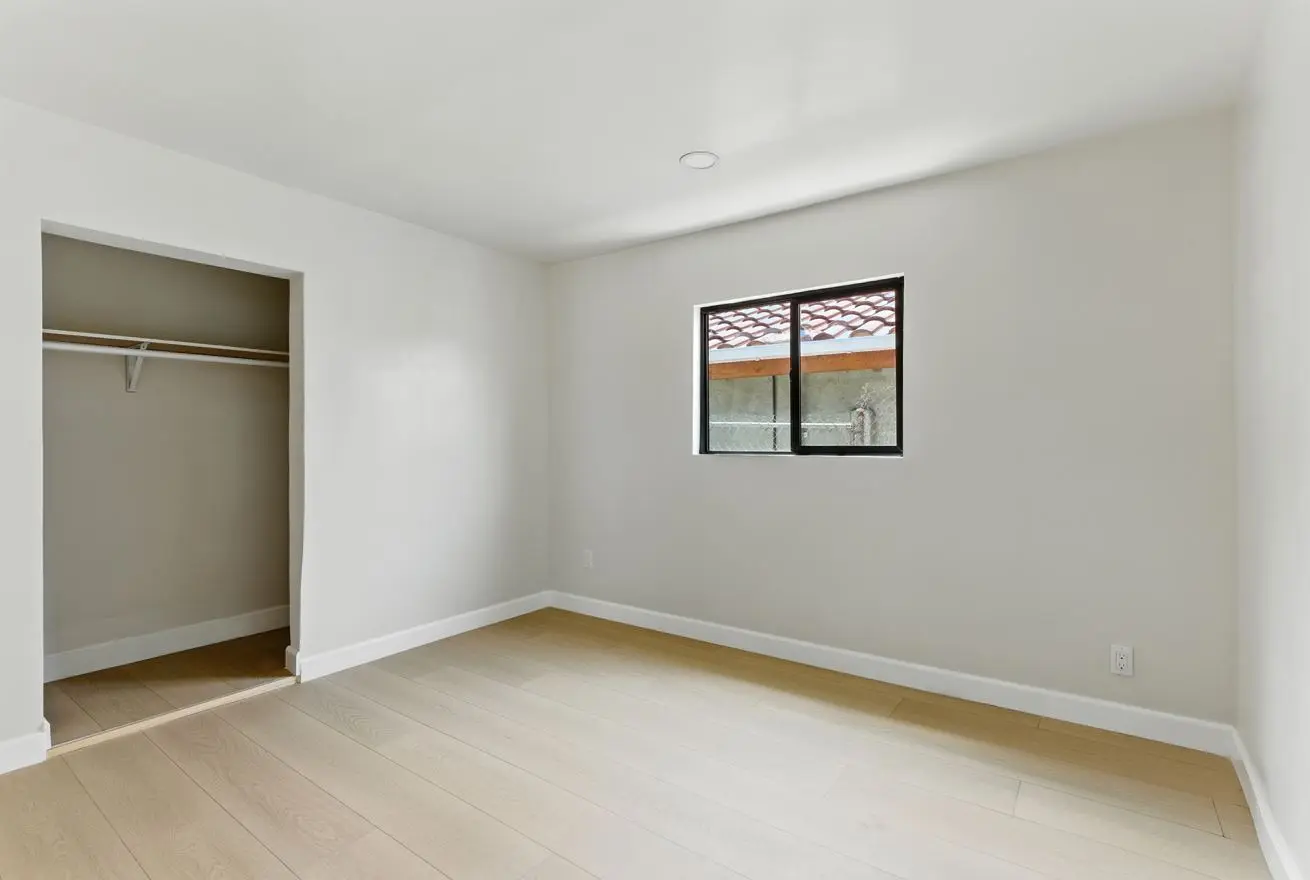
A whole-home interior repaint covers all walls, ceilings, and trim throughout the home in a coordinated color scheme, with surface preparation appropriate to the existing condition of each surface. It is the scope that produces the most dramatic transformation of a home’s interior in the shortest time and at the most efficient cost because the full project mobilization, masking, and cleanup is distributed across the largest number of surfaces. For Southern California homes being prepared for sale, a whole-home repaint following drywall repair of accumulated surface damage produces a presentation-ready interior at a fraction of the cost of more extensive remodeling. For homeowners who have been in the home for ten or more years and whose walls have accumulated the normal wear of that period, a whole-home repaint with thorough preparation produces a result that looks substantially better and cleaner than the individual room repaints that have been applied over the years without consistent preparation. We walk the full home during the estimate visit, assess each room’s wall and ceiling condition, identify all repair scopes, and provide a written price for the full project.
Remodel Integration Painting
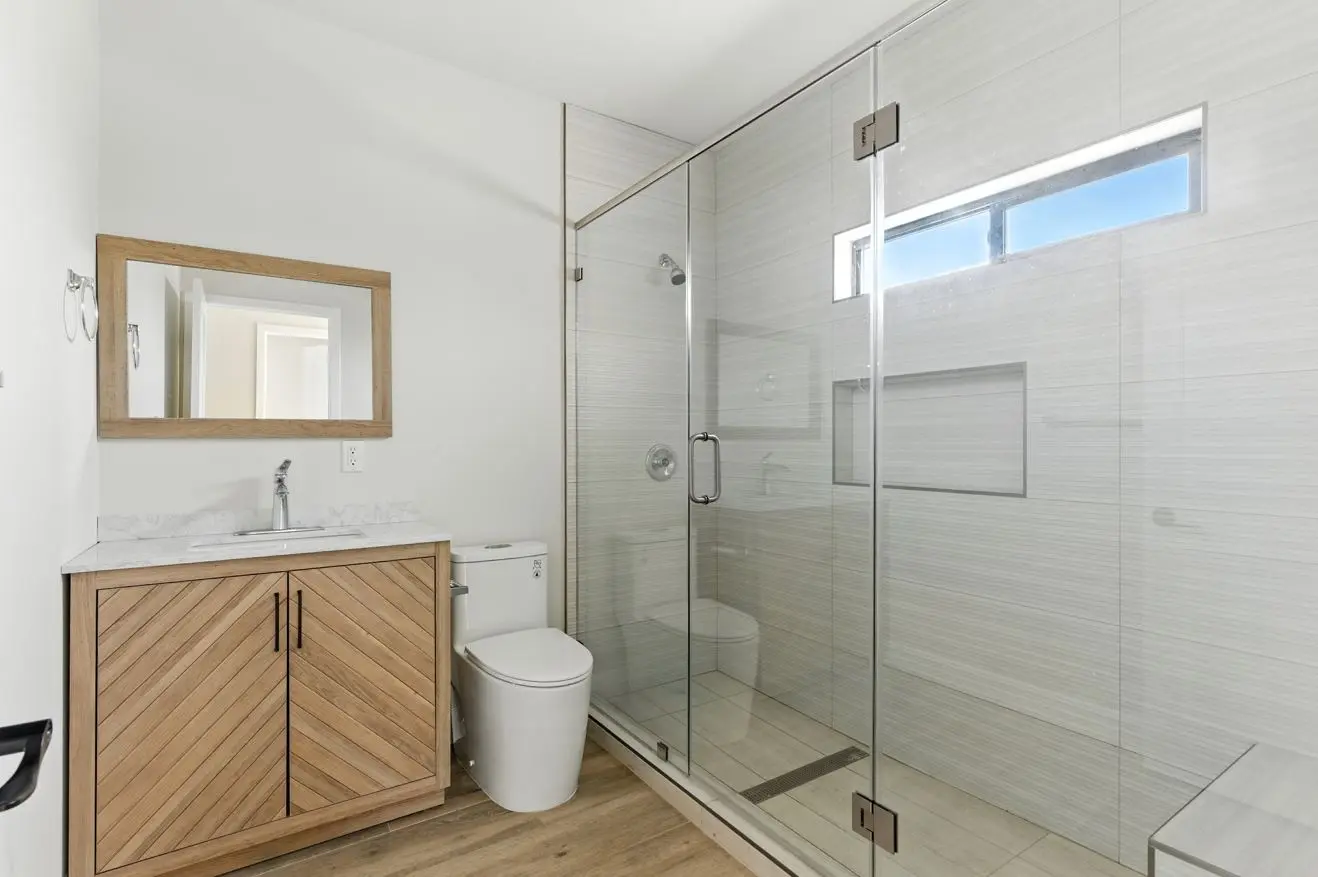
Interior painting integrated into a remodel project, such as a kitchen renovation, bathroom remodel, or room addition, requires coordination with the other trades to ensure painting is sequenced correctly within the project. Primer and paint are applied to new drywall after the drywall finishing is complete, before cabinets or fixtures are installed against the wall, so that the painted surface runs fully behind the finished elements rather than stopping at the cabinet edge or fixture line. Final touch-up painting is performed after all fixtures and cabinets are in place to address any contact marks or damage. Baseboards and trim are painted either before flooring installation with protection in place or after flooring installation, depending on the sequence that produces the cleanest result for the specific flooring type. We manage this sequencing as part of every remodel project and apply the painting scope at the stages that minimize rework and produce the cleanest finished appearance.
Drywall Repair and Surface Preparation
Drywall repair preceding interior painting addresses the full range of surface deficiencies that accumulate in Southern California homes over time. Nail pops are reset, dimpled, and filled. Hairline cracks from foundation movement and seismic activity are opened, filled, and taped where they are in joint locations. Water stain rings are treated with stain-blocking primer before any finish paint is applied, because water stains bleed through standard primers and show through finish coats. Holes and damaged sections are patched, taped, mudded, and textured to match the surrounding surface. Surfaces with heavy texture buildup from multiple prior paint layers are assessed for skim coating or texture removal where the accumulated texture is inconsistent enough that painting over it will not produce a satisfactory result. We include all identified repair scopes in the estimate as defined line items, so the total project cost is known before any work begins.
New Construction and Addition Painting
New construction and room addition painting applies primer and finish coats to freshly taped and finished drywall, which requires a different preparation approach than repainting existing surfaces. New drywall finishing must be fully cured and sanded before priming, and any areas where the drywall compound has not been properly feathered or where joint tape edges are visible must be corrected before primer is applied because they will be significantly more visible after painting than before. New drywall requires a full prime coat before finish coats are applied to seal the paper face of the drywall uniformly and prevent the differential absorption that produces flashing, which is the visible variation in sheen between the paper face of the drywall and the joint compound areas where the paper was damaged. We specify the correct primer and application sequence for new drywall to produce a consistent finish coat appearance.
Trim, Door, and Baseboard Painting
Trim, door, and baseboard painting uses a different product and a different application technique than wall painting. Trim and doors receive a hard-wearing enamel paint in semi-gloss or satin sheen that resists the contact and cleaning that these surfaces experience. Trim painting requires careful preparation of the existing trim surface, including light sanding to de-gloss the existing paint for adhesion and filling any dents, gaps at the wall joint, and nail holes before the finish coat is applied. We apply trim paint by brush for the precision the straight lines of trim require, and back-roll or back-brush spray-applied products where the production rate justifies spray application on large trim areas. Cutting in cleanly at the wall-to-trim line without tape lines or brush marks on adjacent surfaces is the detail that distinguishes trim painting done carefully from trim painting done quickly.
Cabinet Painting and Refinishing
Cabinet painting refinishes existing kitchen or bathroom cabinets with a durable paint finish that changes their appearance without the cost of replacement. The preparation for cabinet painting is more intensive than wall painting because cabinet doors and drawer fronts are handled and viewed at close range and under direct light, which makes any surface deficiency in the preparation or application visible. We remove all cabinet doors and drawer fronts, fill and sand all surfaces, apply a bonding primer appropriate for the cabinet material, and apply a hard-wearing cabinet enamel in the specified finish. Doors and drawer fronts are painted horizontally on a flat surface to eliminate runs and sags, then rehung after the finish coat has cured to the required hardness. Cabinet painting is an appropriate scope when the cabinet boxes and doors are structurally sound, and the homeowner’s goal is a color and appearance change without the cost of new cabinetry.
Surface Preparation Requirements by Condition
| Surface Condition | Preparation Required | Impact on Result If Skipped |
|---|---|---|
| Nail pops and minor holes | Reset fastener, dimple, fill with compound, sand, spot prime | Visible bumps and shadows under the finish coat in raking light |
| Hairline cracks from settlement or seismic | Open crack, fill, tape at joint locations, skim, sand, prime | Crack telegraphs through the finish coat within one season |
| Water stain rings | Confirm source is resolved, apply shellac or oil-based stain-blocking primer. | Stain bleeds through the standard primer and all finish coats |
| Glossy existing paint | Sand or chemically degloss to improve adhesion | New paint peels at high-use areas within months |
| Grease and contamination in kitchen areas | TSP or degreaser wash, rinse, dry before priming | Paint adhesion failure and fisheye in areas of contamination |
| New drywall joint compound areas | Full prime coat to seal paper and mud uniformly | Flashing, visible sheen variation between paper and mud areas |
| Previously unpainted masonry or plaster | Masonry primer or bonding primer appropriate for the substrate | Poor adhesion, alkali burn-through on masonry surfaces |
According to the Paint Quality Institute, proper surface preparation is the single most important factor in the durability and appearance of an interior paint job, accounting for as much as 80 percent of the quality of the finished result. In Southern California’s housing stock, where older homes have walls and ceilings that have accumulated decades of surface damage, settlement movement, and prior paint layers applied without consistent preparation, the preparation work that precedes a quality interior paint job is not a formality that can be abbreviated without visible consequences. For homeowners whose interior painting project is being coordinated with new flooring, our flooring installation services can be sequenced in the same project with painting occurring before flooring installation, so baseboards and wall-floor transitions are clean and complete before the new floor goes in.
What Interior Painting and Finishing Costs in Southern California
Cost is driven by the total paintable surface area, the extent of drywall repair and surface preparation required, ceiling height, the number of colors being applied, and whether trim and cabinet painting are included in the scope. The ranges, including all preparation, masking, priming, paint application, and cleanup. Paint material is included in the ranges above using professional-grade products. Financing is available for qualified homeowners, including $0 down options.
Call (818) 483-8055 to schedule your free interior painting estimate.
Our Interior Painting and Finishing Process
Step 1: Free Walk-Through and Estimate
A licensed Wise Choice estimator walks every room being painted, assesses the wall and ceiling condition, identifies all drywall repair scope, reviews the existing paint condition and sheen for adhesion considerations, and discusses color preferences and sheen selections with you. You receive a written itemized estimate before the end of the next business day identifying the prep scope, the painting scope, and the total cost before any work begins. No obligation to proceed.
Step 2: Surface Preparation and Drywall Repair
All drywall repair is performed before any masking or priming begins. Nail pops are reset and filled. Cracks are opened, filled, and taped at joint locations. Water stain areas are treated with stain-blocking primer. Holes are patched and textured to match the surrounding surface. All repaired areas are sanded smooth and confirmed ready for priming before the project moves to the masking and priming stage.
Step 3: Masking and Protection
All surfaces not being painted are masked and protected before any paint is applied. Floors are covered with drop cloths in all work areas. Trim, windows, and doors are masked where wall paint is being applied adjacent to them. Fixtures, hardware, and outlets are covered. The protection scope is appropriate to the surfaces being painted and the application method being used.
Step 4: Priming
Spot primer is applied to all repaired areas. A full prime coat is applied to new drywall, to surfaces with adhesion concerns from high-gloss existing paint or contamination, and to surfaces where stain blocking is required. The primer is allowed to dry fully before the finish coat is applied. We do not apply finish coats over wet primer or over primer that has not achieved adequate dry film hardness.
Step 5: Finish Coat Application
Finish coats are applied by roller and brush in the sequence appropriate for the room, typically ceilings first, walls second, and trim last. Each coat is applied at the spreading rate required to achieve the specified dry film thickness and is allowed to dry to the required recoat window before the next coat is applied. Cut-in work at corners, trim lines, and ceiling lines is performed by brush with the precision required to produce clean lines without tape marks on adjacent surfaces.
Step 6: Cleanup and Final Inspection
All masking and drop cloths are removed after the final coat is dry. Paint drips and overspray are cleaned from all surfaces. Hardware and fixtures are wiped clean. The completed work is inspected for any application deficiencies including holidays in coverage, runs, or cut-in inconsistencies, and any identified issues are corrected before the project is closed. At project closeout, you receive the 2-year workmanship warranty in writing and the documentation of products used, including color names and formulas for future reference.
If you are ready to get a written estimate for an interior painting project or want to discuss what preparation scope your walls actually require for a result that holds up, request a free estimate online or call (818) 483-8055 to schedule your walk-through.
Permits and California Requirements for Interior Painting
Interior painting and drywall repair as a standalone scope is permit-exempt in all California jurisdictions. Interior painting performed as part of a permitted remodel project is covered under the overall project permit. We confirm any applicable requirements for the specific scope at the estimate visit.
California Air Resources Board regulations govern the VOC content of architectural coatings sold and applied in California, including interior paints. California’s VOC limits for interior architectural coatings are among the most stringent in the United States, and all paint products sold in California by major manufacturers comply with CARB regulations. We specify CARB-compliant products on every interior painting project as a standard baseline, not as an option.
For homes with lead paint, which is present in a significant share of Southern California homes built before 1978, any surface preparation work that disturbs painted surfaces in a home with children under six or a pregnant woman present must comply with California’s lead-safe work practices requirements. We identify potential lead paint conditions during the estimate visit and advise on the applicable requirements for the specific project and occupancy situation.
Why Southern California Homeowners Choose Wise Choice for Interior Painting
15+ Years of Combined Experience Providing Interior Painting
We have painted interior spaces in Southern California homes across every condition, age, and project context the region’s housing stock presents. The preparation work that produces a result that looks good and holds up is not negotiable on any project we perform, and the estimate reflects the preparation scope the walls actually require, rather than the minimum that gets paint on the wall without visible immediate failure.
Licensed and Insured General Contractor
Every interior painting and finishing project we perform is completed under our general contractor license by crew members fully covered by our insurance. You carry no liability exposure for work our team performs in your home.
Preparation Assessed and Priced Before Every Project
We walk through every room and assess every wall and ceiling surface during the estimate visit. Drywall repair, stain blocking, adhesion priming, and texture matching are identified as specific line items in the estimate rather than discovered as surprises that add cost after the project has begun. The price in the estimate is what the project costs for the defined scope.
Remodel Sequencing Managed Correctly
For interior painting integrated into a remodel project, we manage the sequencing so painting occurs at the stages that produce the cleanest finished result: new drywall painted before cabinets or fixtures are installed against it, trim painted in coordination with flooring installation, and touch-up painting performed after final fixture installation. Painting at the wrong stage in a remodel creates rework that costs more than sequencing it correctly from the start.
2-Year Workmanship Warranty
Our 2-year workmanship warranty covers all surface preparation, drywall repair, priming, and paint application our crew performs. If any workmanship-related failure develops within two years under normal conditions, we return and correct it at no charge. The warranty is in writing and delivered at project closeout alongside the paint color documentation.
Financing Available
Financing is available for qualified homeowners, including $0 down options. Ask about current programs when you schedule your estimate.
Wise Choice Remodeling brings 15+ years of combined experience to providing interior painting and finishing across Southern California. If you want a written estimate on an interior paint project that includes the preparation your walls actually need for a result that holds up, call (818) 483-8055 to schedule a free walk-through with no obligation.