What Stucco Installation Involves for Southern California Homes
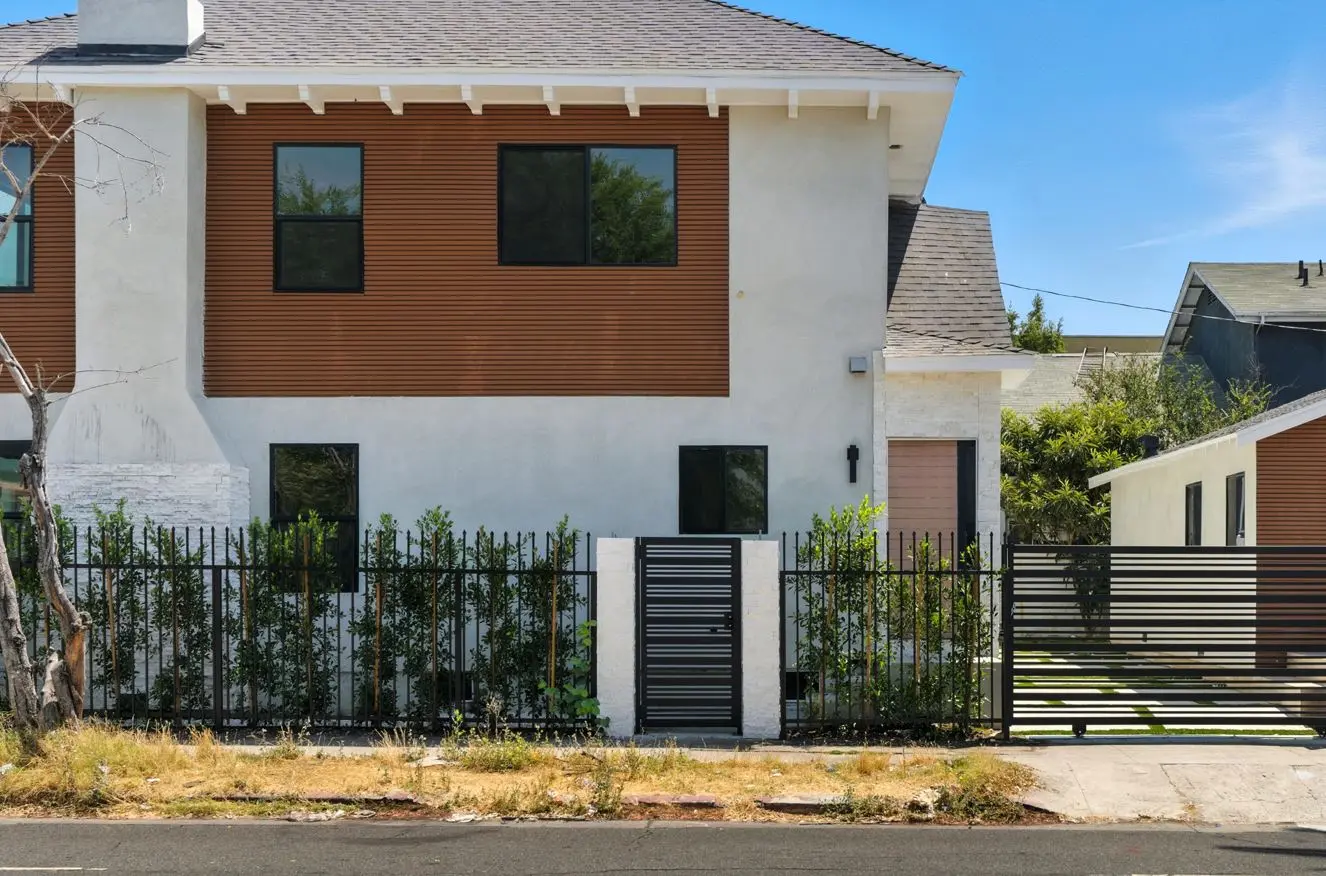
Stucco installation is the application of a Portland cement-based exterior cladding system over a prepared substrate, providing a durable, weather-resistant exterior finish that suits Southern California’s climate, architectural character, and sun exposure better than most alternative cladding materials. A correctly installed stucco system on a wood-framed Southern California home consists of a water-resistive weather-resistant barrier applied over the wall sheathing, metal lath fastened over the barrier at the required spacing, a scratch coat applied into and through the lath to create a mechanical key, a brown coat applied over the cured scratch coat to bring the wall to plumb and establish the system’s structural thickness, and a finish coat applied over the cured brown coat in the specified texture and color. Each component in that sequence serves a specific function, and deficiencies in any of them, whether a weather-resistant barrier incorrectly lapped at a window, lath fastened at inadequate spacing, a brown coat applied before the scratch coat has cured, or a finish coat applied in direct sun that cures too quickly and map-cracks, produce failures that are either invisible at installation and become apparent over subsequent wet seasons or visible immediately and indicative of the workmanship quality throughout the system. In Southern California, where stucco is the dominant residential exterior cladding and where the combination of seismic activity, expansive clay soils, and a concentrated wet season creates specific performance demands for the stucco system, getting the installation right from the barrier up is what determines how long the exterior holds before any meaningful repair is needed.
Stucco Installation Scopes We Perform
New Construction Stucco
New construction stucco installation covers the full exterior wall area of a newly framed structure, from the weather-resistant barrier and lath through all three coats to the finished texture and color. The installation is coordinated with the building’s framing, sheathing, and window and door installation schedule so that the weather-resistant barrier and flashing integration at openings is correctly sequenced before lath is applied. The lath inspection is the first stucco-related inspection, occurring after lath is installed and before any stucco is applied, and it is the inspection that confirms the critical water management details at the barrier and flashing level are correct before they are covered. We pull the permit, coordinate the lath inspection, manage the cure period schedule between coats, and deliver the completed stucco installation at final inspection sign-off.
Room Addition and ADU Stucco
Room additions and ADUs in Southern California require new stucco installation on the exterior walls of the new structure, with the additional challenge of matching the texture and color of the existing home exterior at the transition between old and new. The transition joint between the existing stucco and the new stucco must be correctly detailed to accommodate movement between the existing and new structure while remaining weathertight. We assess the existing stucco texture and condition before specifying the finish coat approach for the addition, and we discuss the matching strategy and the realistic extent to which a match can be achieved before the finish coat is applied. For room addition projects that also involve full exterior restucco of the existing home at the same time, the matching challenge is eliminated, and the combined scope is typically more cost-effective per square foot than separate mobilizations.
Full Exterior Restucco
Full exterior restucco involves removing all existing stucco from the home’s exterior down to the sheathing, replacing the weather-resistant barrier across the full wall area, installing new lath, and applying a complete new three-coat stucco system. This is the appropriate scope when the existing stucco is broadly failing across multiple elevations with widespread cracking, delamination, or water damage; when the existing stucco is so extensively patched that a consistent appearance is no longer achievable without full removal; when the home is undergoing a comprehensive exterior renovation that includes window replacement and other work that requires the wall to be open at the sheathing level; or when the existing stucco assembly does not include a compliant weather-resistant barrier and the homeowner wants to bring the wall assembly to current California Building Code standard. Full exterior restucco produces a completely new, consistent exterior cladding system with a documented permit record covering the full wall assembly.
Stucco Over Foam Insulation Sheathing
Contemporary energy code requirements in California increasingly call for continuous insulation at the exterior wall sheathing level to meet Title 24 thermal performance requirements. Stucco over foam insulation sheathing requires a drainage mat or other drainage plane material between the foam and the lath to create the drainage gap that the stucco assembly requires, and it uses a longer fastener to penetrate through the foam and drainage mat into the framing at the required pullout strength. The assembly is more complex than traditional stucco over wood sheathing and requires attention to the fastening pattern, drainage mat installation, and lath type to ensure the system performs correctly over the foam substrate. We install stucco over foam assemblies to meet California Building Code requirements on new construction and renovation projects where continuous exterior insulation is part of the wall assembly scope.
One-Coat Stucco Systems
One-coat stucco systems use a fiber-reinforced Portland cement product applied in a single thick application over foam sheathing or a specific listed substrate, producing a 3/8-inch thickness stucco assembly faster and at lower labor cost than a traditional three-coat system. They are a practical choice for some new construction and addition applications where the substrate and project economics support them and where the thinner assembly and different performance characteristics of the one-coat system are acceptable for the specific application. We present one-coat as an option alongside three-coat on applicable projects with an honest comparison of the cost, performance, and appearance trade-offs so the homeowner can make an informed choice.
California Building Code Requirements for Stucco Assemblies
| Component | California Building Code Requirement | Why It Matters |
|---|---|---|
| Weather-resistant barrier | Minimum Grade D building paper or listed WRB, lapped 2 inches at horizontal joints, 6 inches at vertical joints | Prevents water that infiltrates stucco from reaching framing and sheathing |
| Metal lath | Self-furring expanded metal lath, minimum 2.5 lb/sq yd, fastened at 6-inch spacing on studs | Provides a mechanical key for scratch coat and structural support for the stucco system |
| Scratch coat | Minimum 3/8 inch thickness, horizontally scratched before initial set | Creates a bond surface for the brown coat, and begins the water-resistance of the system |
| Brown coat | Minimum 3/8 inch thickness, cured for a minimum of 7 days before finish coat | Provides structural thickness and a flat plane for finish coat application |
| Finish coat | Minimum 1/8 inch thickness, applied over cured brown coat | Provides a weather-resistant exterior surface and visual texture |
| Control joints | Required at a maximum 18-foot spacing in each direction, at all floor lines and structural transitions | Manages shrinkage and movement cracking at defined locations rather than randomly across the wall surface |
| Weep screed | Required at base of stucco system, minimum 4 inches above grade or 2 inches above paved surfaces | Allows moisture that enters the wall assembly to drain out at the base rather than accumulating |
According to the California Department of Housing and Community Development, the California Building Code’s requirements for exterior stucco assemblies are specifically designed to address the water management conditions that cause long-term stucco failure, and the lath inspection that occurs before stucco is applied is one of the most important inspections in the residential building process because it is the last opportunity to confirm that the weather-resistant barrier, flashing integration, and lath installation are correct before they are permanently covered by the stucco system. For homeowners planning a full exterior restucco on a home that will also benefit from a cool wall coating to reduce surface temperatures and cooling loads, our cool wall coating service covers that scope and can be coordinated as a combined project with the stucco installation.
Our Stucco Installation Process
Step 1: Free On-Site Assessment and Estimate
A licensed Wise Choice estimator visits your property, measures the exterior wall area, reviews the existing conditions for restucco projects or the framing and sheathing conditions for new construction and additions, confirms the texture and color preferences, and identifies any HOA requirements or permit conditions specific to the project location. You receive a written itemized estimate before the end of the next business day with no obligation to proceed.
Step 2: Permit Application and HOA Approval
We submit the building permit application and manage the plan check process. For HOA-governed properties, we provide the required documentation for the exterior modification approval submission and confirm written HOA approval before any work begins. Permit and HOA processing timelines are factored into the project schedule from the start.
Step 3: Existing Stucco Removal Where Required
For full exterior restucco projects, existing stucco is removed by sawing, grinding, or hand tools, depending on the thickness and bonding condition of the existing material. All removed stucco is hauled off-site. The exposed sheathing is inspected for any moisture damage before the new weather-resistant barrier is installed. Damaged sheathing sections are replaced as part of the restucco scope where moisture damage is found.
Step 4: Weather-Resistant Barrier and Lath Installation
A weather-resistant barrier is installed over the wall sheathing with the required horizontal and vertical laps, integrated with window and door flashing at all openings. Self-furring metal lath is installed over the barrier at the required fastening schedule into studs. Weep screed is installed at the base of the wall at the required height above grade. Control joints are installed at the required spacing and at all structural transitions. The completed lath installation is inspected by the building department before any stucco is applied.
Step 5: Scratch Coat Application
The scratch coat is applied over the lath by hand or by machine, worked into and through the lath to create a complete mechanical key. The surface is scratched horizontally while the material is still plastic to create the bond surface for the brown coat. The scratch coat is protected from direct sun and wind during the cure period to prevent rapid drying that causes map cracking.
Step 6: Brown Coat Application
After the scratch coat has cured to the required minimum strength, the brown coat is applied over the full wall area, rod-floated to a flat, plumb plane, and finished with a float texture that provides the bond surface for the finish coat. The brown coat is allowed to cure for the required minimum period before the finish coat is applied.
Step 7: Finish Coat Application and Final Inspection
The finish coat is applied in the specified texture over the fully cured brown coat. The texture is applied consistently across the full wall area and matched to the existing texture on addition and partial restucco projects. After the finish coat cures, the building department’s final inspection is coordinated. At project closeout, you receive the permit and all inspection sign-offs, the 2-year workmanship warranty in writing, and the project documentation.
If you are planning a new construction stucco installation, a room addition, an ADU, or a full exterior restucco on your Southern California home, request a free estimate online or call (818) 483-8055 to schedule your on-site assessment.
Permits and California Requirements for Stucco Installation
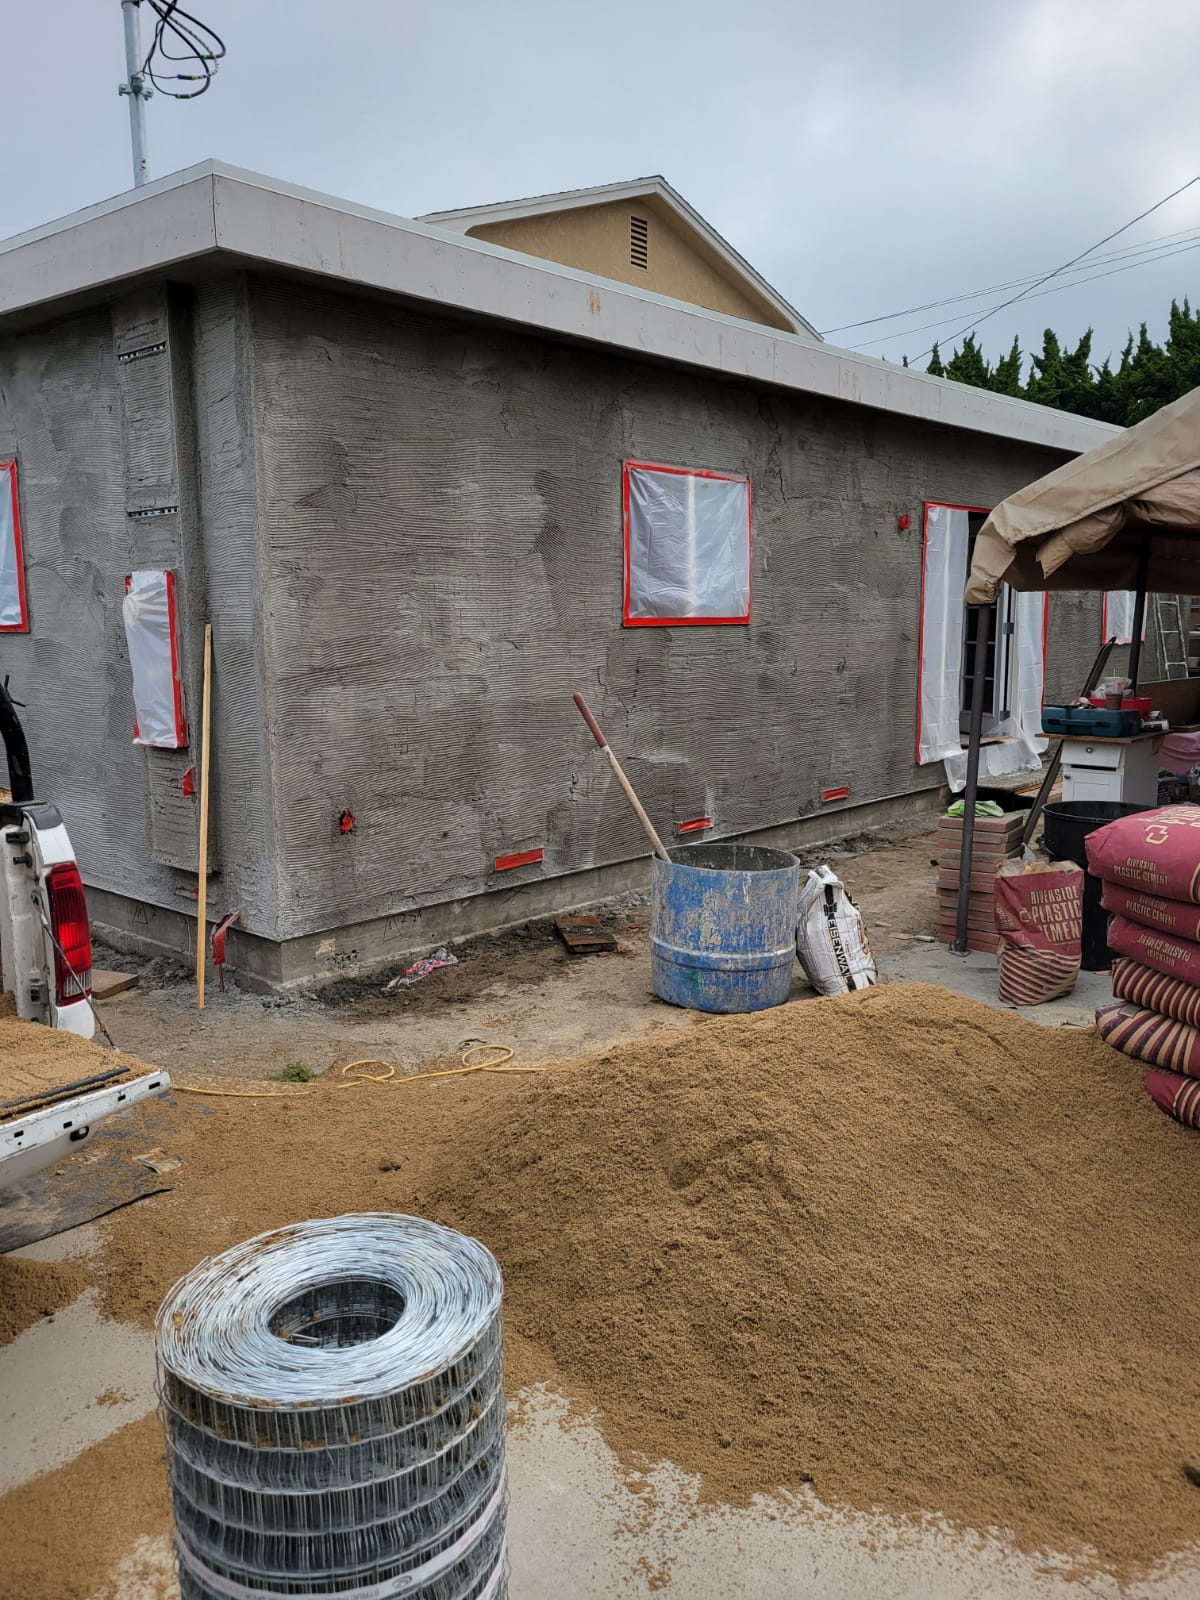
New stucco installation on new construction, room additions, and full exterior restucco projects requires a building permit in all California jurisdictions. The permit triggers a lath inspection before any stucco is applied, which is the critical inspection confirming that the weather-resistant barrier, flashing integration, and lath installation are correct before they are covered. A final inspection after the finish coat is complete closes the permit. We pull the permit, manage the lath inspection scheduling, and deliver the complete permit documentation at project closeout.
California Building Code Chapter 25 governs exterior plaster and stucco assemblies and specifies the weather-resistant barrier requirements, lath type and fastening requirements, coat thickness requirements, cure period requirements, control joint spacing, and weep screed installation requirements. We adhere to these requirements as a baseline on every project, and the permit inspections confirm compliance.
For HOA-governed properties, new stucco installation and full exterior restucco are typically subject to HOA approval for the finish texture and color. Southern California HOAs frequently govern exterior appearance to maintain neighborhood consistency, and the required approval documentation typically includes a description of the proposed texture type, a color chip or sample for the finish coat color, and confirmation of the contractor’s license and insurance. We provide complete HOA submission documentation and manage the approval process before scheduling any work.
Why Southern California Homeowners Choose Wise Choice for Stucco Installation
15+ Years of Combined Experience Installing Stucco
We have installed stucco on Southern California homes and structures ranging from standard single-story tract homes to custom additions and detached ADUs, across every finish texture and every project type the region’s construction market presents. The cure period, discipline, and inspection sequencing that a correctly installed three-coat system requires are not shortcuts we take in the field to move the project faster.
Licensed and Insured General Contractor
Every stucco installation we perform is completed under our general contractor license by crew members fully covered by our insurance. You carry no liability exposure for work our team performs on your home’s exterior.
Lath Inspection Before Any Stucco Is Applied
We do not apply stucco before the lath inspection passes. The weather-resistant barrier and flashing integration confirmed at that inspection are the water management foundation of the entire stucco system, and covering them before they are confirmed correct is a risk we do not take on any project, regardless of schedule pressure.
Control Joints at the Required Spacing
We install control joints at the California Building Code required spacing and at all structural transitions as standard scope. Control joints placed correctly manage where shrinkage and movement cracking occur. A stucco installation without correct control joint placement will develop random map cracking across the wall surface within the first few wet-dry seasons, and no amount of finish coat quality prevents it.
2-Year Workmanship Warranty
Our 2-year workmanship warranty covers all weather-resistant barriers, lath, stucco coats, control joints, and weep screed installation that our crew performs. If any workmanship-related failure develops within two years under normal weather conditions, we return and correct it at no charge. The warranty is in writing and delivered at project closeout alongside the permit documentation.
Financing Available
Financing is available for qualified homeowners, including $0 down options. Ask about current programs when you schedule your estimate.
Wise Choice Remodeling brings 15+ years of combined experience to installing stucco on Southern California homes. If you are planning new construction, an addition, an ADU, or a full exterior restucco and want a written estimate on a permitted and inspected installation, call (818) 483-8055 to schedule your free on-site assessment.